
DIY Waist Adjustment for High-Waisted Jeans
Table of Contents
- Assess the Waist Gap and Choose Your Method
- Tools and Machine Setup for Thick Denim
- How to Fix a Gaping Waistband on Jeans
- How to Take In Jeans Without a Sewing Machine
- How to Add an Adjustable Waist to Jeans
- How to Make Jeans Waist Bigger
- Troubleshooting and Fit Checks for High-Waisted Jeans
- Frequently Asked Questions
Last Updated: October 21, 2026
Assess the Waist Gap and Choose Your Method
A gaping waistband on high-waisted jeans is a fit problem, not a body problem. Most people assume they need a tailor, but a DIY waist adjustment for high waisted jeans is one of the few alterations a beginner can handle at home, and a simple waist adjustment is often all it takes. At AVERA7, we hear from shoppers all the time who love the rise and leg but fight a gap at the back.
Measure the Gap and Check the Rise
Pinch the excess fabric at the center back and measure it. That number decides everything.
- Under 1 inch: darts or a small back-seam take-in
- 1 to 2 inches: back-seam take-in
- Over 2 inches: elastic or a full waistband resize
- Waist too tight instead: let out the seams
Check the rise while you're there. High-waisted jeans sit at or above the navel, so the waistband needs to hug the smallest part of your torso. If the gap appears because the jeans sit too low, you may need a rise adjustment, not a waist take-in.
Decision Guide: Take In, Add Elastic, or Let Out
Use this table to pick your method before you cut anything.
| Problem | Best Method | Skill Level | Time |
|---|---|---|---|
| Small gap at center back | Darts | Beginner | 20 min |
| 1-2 inch gap, no stretch | Back seam take-in | Beginner | 30 min |
| Gap changes with bloating | Adjustable inner elastic | Beginner | 25 min |
| Waistband digs in | Let out seam allowance | Intermediate | 40 min |
| Gap plus loose hips | Side seam take-in | Intermediate | 45 min |
Tools and Machine Setup for Thick Denim
Denim is heavy, and a weak setup causes skipped stitches and broken needles. Before you start, gather:
- Denim or heavy-duty needle, size 90/14 or 100/16
- Heavy polyester thread, not cotton
- Jean-a-majig or a folded scrap of denim to level the presser foot
- Tailor's chalk, glass-head pins, seam ripper
- Sewing machine with adjustable presser foot pressure
Set your stitch length to 3.0-3.5 mm. Lower the presser foot pressure slightly so thick seams feed evenly. If your machine struggles over the waistband join, hand-crank the first few stitches.
How to Fix a Gaping Waistband on Jeans
Fixing a gaping waistband means removing excess fabric from the center back, where the gap usually lives. This is the standard fix for high-waisted jeans because the back seam already exists and hides your work.
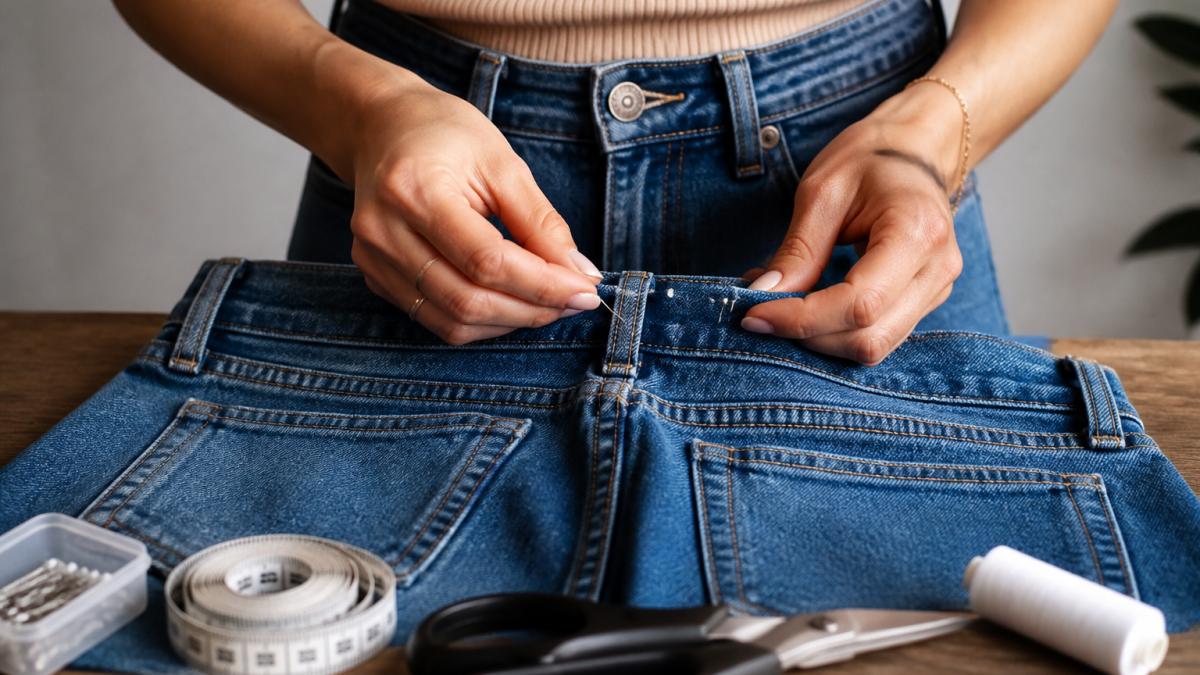
Mark, Pin, and Sew the Back Seam
- Turn the jeans inside out and put them on.
- Pinch the center back gap closed and pin it vertically.
- Mark the new seam line with chalk, tapering from the waistband down to zero at the hip.
- Take the jeans off and pin along the chalk line.
- Sew down the marked line with a straight stitch.
- Try them on before trimming. Trim excess fabric to 1/2 inch and finish the raw edge with a zigzag stitch.
Use Darts for a Cleaner Curve
Darts suit small gaps under 1 inch. Mark two short darts, one on each side of the center back, about 2-3 inches long. Pinch the fabric, stitch from the waistband down to a point, and backstitch. Darts give a smoother curve than a single back seam and avoid a puckered center back.
How to Take In Jeans Without a Sewing Machine
No machine, no problem, but "no-sew" covers a wide range of fixes with very different holding power. The right pick depends on your gap size, whether you want the change to be reversible, and how often you wash the jeans. Here is how each option actually works, ranked from most temporary to most secure.
Match the No-Sew Method to Your Gap
| Gap size | Best no-sew method | Holds through washing? | Reversible? |
|---|---|---|---|
| Under 1/2 inch | Hidden safety pins | No | Yes |
| 1/2 to 1 inch | Fusible fabric tape | 1-2 washes | No |
| 1 to 2 inches | Sew-in or snap waistband buttons | Yes | Yes |
| Any size, temporary | Belt or back clip | Yes | Yes |
Safety Pins Done Right
Pin from the inside so the hardware hides behind the waistband. Work from the center back outward, placing pins every 1/2 inch and angling them so the heads point down, this keeps them from poking you when you sit. Use locking safety pins (size 2 or 3) rather than standard pins; the clasp holds tension far better on stiff denim.
Fusible Fabric Tape
Fusible hem tape is the fastest semi-permanent fix, but it is not a true seam. Turn the jeans inside out, fold the excess fabric into a flat pleat at the center back, and sandwich a strip of fusible tape (1/2 inch wide works for most denim) between the fold and the waistband lining. Press with an iron on the denim setting for 10-15 seconds per section, using a pressing cloth so the tape does not bleed through.
Waistband Buttons and Snaps
Sew-in buttons or snap fasteners let you cinch the back without removing fabric. Mark two points about 2 inches apart across the gap, sew a button on one side and a matching buttonhole or snap on the other, then bridge them with a short strip of elastic or a fabric loop. This is the only no-sew method that stays put through repeated washing and still lets you undo the adjustment later.
Belt and Back Clip
The oldest trick: thread a belt through the loops and pull it snug at the back, or use a back clip to gather the excess. Neither changes the jeans, so they are ideal for testing whether a 1-inch take-in will feel right before you sew. The trade-off is visible bulk at the center back and a waistband that can ride up when you sit.
How to Add an Adjustable Waist to Jeans
An adjustable inner waistband lets high-waisted denim flex with you through a long day, the same mechanism used in kids' adjustable-waist pants, scaled for adult denim. The trick is building a hidden elastic channel behind the waistband so the outer topstitching stays untouched. Done right, no one can tell the jeans were altered.
Build the Channel
- Measure your natural waist and subtract 4 inches, this is your elastic length. Use 3/4-inch braided elastic; knit elastic stretches too much for denim's weight.
- Turn the jeans inside out. At each side seam, use a seam ripper to open a 1-inch section of the inner waistband lining only, do not cut through the outer waistband or the topstitching.
- Thread the elastic through the channel between the lining and the outer band using a large safety pin as a leader. Work from one side seam to the other, keeping the elastic flat so it does not twist.
- Try the jeans on and pull the elastic ends until the back sits flat against your lower back without digging. Mark the tension point with chalk.
- Anchor each end with a 1-inch square of back-and-forth stitching through the elastic and the seam allowance, then close the lining openings with a whip stitch.
Test the Tension Before You Close It Up
The failure mode here is elastic that is either too loose (the gap returns) or too tight (the waistband rolls and the rise pulls down). Before you stitch the ends permanently, sit, bend forward, and twist. The back waistband should stay in contact with your body through all three. If it lifts when you sit, shorten the elastic by 1/2 inch and retest.
Keep the Outer Waistband Clean
Because the elastic lives between the lining and the outer band, no topstitching shows and the original waistband shape is preserved. This matters on high-rise denim, where a visible horizontal stitch line across the back would break the clean line of the rise. If your jeans have a bonded or glued waistband lining rather than a stitched one, skip this method, opening the lining will damage the bond.
How to Make Jeans Waist Bigger
Sometimes the waist needs room, not less fabric. Letting out works only if the jeans have seam allowance to spare.
- Let out the back seam: unpick the center back seam and resew with a smaller allowance
- Side gussets: insert a small triangle of matching denim at each side seam for extra width
- Waistband extender: a button-on extender adds an inch without any sewing
- Water trick: a light spritz and gentle stretch can relax stiff denim
Check the inside seam first. Many mass-produced jeans have narrow allowances, which limits how much you can let out.
Troubleshooting and Fit Checks for High-Waisted Jeans
Puckering, twisted seams, and visible stitch marks all have fixes. Run through this list before you call it done.
| Issue | Cause | Fix |
|---|---|---|
| Puckering at back | Too much fabric removed | Unpick and resew with a gentler taper |
| Twisted center seam | Uneven pinning | Repin on a flat surface, match notches |
| Visible stitch marks | Old holes from unpicked seams | Steam and rub the fabric |
| Waistband ripples | Stretched elastic | Shorten the elastic and resew |
| Gap returns after wear | No reinforcement | Add a second row of stitching |
Fit check: put the jeans on, sit down, and bend forward. The waistband should stay flat against your back with no gap and no digging.
For jeans that fit right from the start, our High-Waisted Wide Leg Jeans offer a tummy-control waist and hip-lifting cut in eight colorways at $39.99.

Frequently Asked Questions
How much can you take in at the waist of high-waisted jeans?
Most high-waisted jeans can safely be taken in by 1 to 2 inches at the center back seam. Beyond that, the back pockets and yoke start to shift toward the sides, which changes the fit and look. If the waist gap is larger than 2 inches, darts or side seams are better options. Always baste first and try the jeans on before committing to a final stitch.
Can you adjust the waist of jeans without a sewing machine?
Yes. For a temporary fix, use a button extender or a hair tie looped through the buttonhole. For a semi-permanent no-sew waist adjustment, install snap buttons or sew-in elastic by hand with a needle and heavy-duty thread. These methods work best on gaps under 1 inch and are ideal for testing the fit before a permanent alteration.
How do you fix a gaping waistband on high-waisted jeans?
Start by measuring the gap at the center back. Pinch the excess fabric, pin it, and baste a new back seam. Sew along the marked line, trim the excess, and finish the seam allowance. For gaps over 1 inch, add two small darts instead. Press the seam flat and topstitch to match the original finish.
Can a tailor alter the waistband of high-waisted jeans?
Yes. A tailor can take in the center back seam, add darts, or resize the waistband itself. Ask whether they will remove and reattach the waistband or work through the back seam, since the second option is usually cheaper and faster.
A gaping waist is fixable, but prevention beats repair. Jeans cut with a high rise and a sculpted waist skip the alteration entirely. AVERA7 builds high-waisted wide-leg jeans with tummy control, a hip-lifting effect, and soft cotton-blend comfort for all-day wear. Our 4.8 out of 5 rating and 30-day money-back guarantee mean you can test the fit risk-free. Start with a pair that fits and save the sewing kit for later.